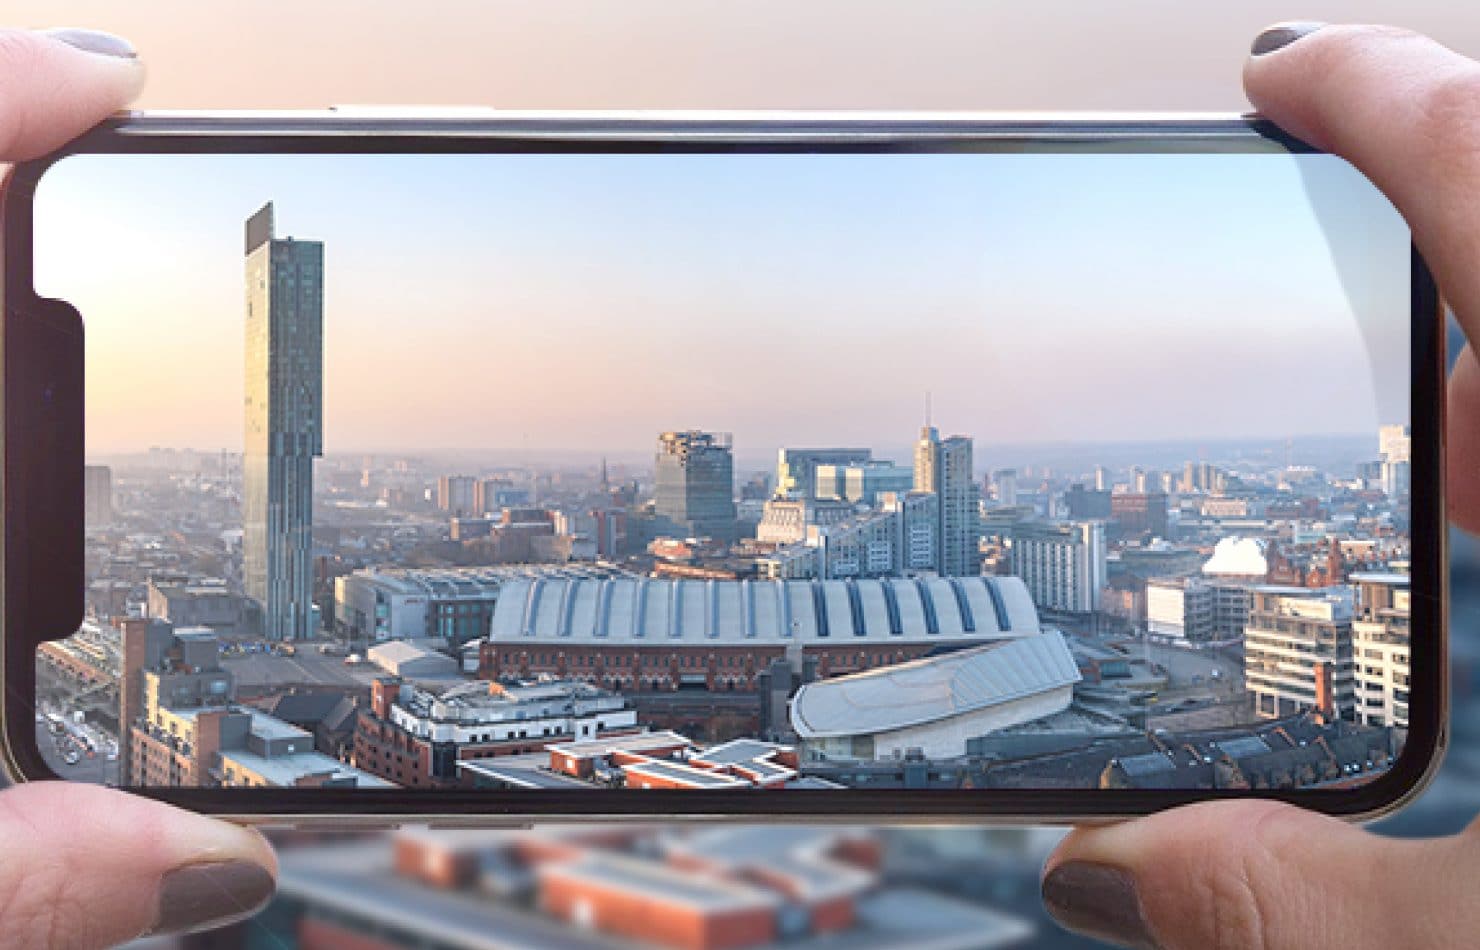
iPhone: How to take amazing photos
Upgrade your iPhone photos game… We’re sure you probably take at least one photo every single day, which you then upload to an app and share with your friends. Picture-sharing platforms absolutely dominate our phones at the moment.
Advancement in technology means phones, such as the iPhone, can now take just as good, if not better, photos than the high-spec cameras favoured by professional photographers.
Here’s our handy tips for how you can take amazing photos with your iPhone camera…
HDR mode
HDR stands for High Dynamic Range, and is a feature which allows you to take photos that have different exposures within it. To put it simply, if you want to take a picture of something that has both a dark section and a bright section, HDR will bring out the colours and highlight these particular areas.
Rule of thirds
The rule of thirds is a technique which is known and used by everyone who works with visual imagery. You can also incorporate it into your iPhone photography. To turn on the grid option, go to Settings > Camera and then tap the Grid button. The idea is to divide an image into nine equal-sized squares, with two horizontal lines crossing two vertical lines. To ensure the balance of your photo is perfect, the subject of your image should be placed at the intersection of the lines.
Capture that shot quickly
We all know you can’t slow down time in order to capture a moment, and within a blink of the eye the moment can be missed entirely. Fear not, as the iPhone’s Burst mode is great for capturing these fast-moving action shots. It’s really easy to enable Burst mode. All you have to do is tap and hold down either the shutter button or one of the volume buttons.
Live photo
The Live photo feature is similar to the Burst mode, but combines these images into a moving-image when you take a picture. It records what happens 1.5 seconds before and after you press the shutter button. It’s great for bringing your photos to life. There’s also a number of effects you can lay over the top, such as Loop, Bounce and Long Exposure.
Control the focus and exposure
To make sure your photos are sharp, it’s important to control the focus and exposure of the image you’re capturing. You can do this on the iPhone by first tapping to focus your image. Once you’ve done this , you can adjust the exposure of your image by either by sliding either up or down.
These features are available on any iPhone, but with the launch of the iPhone 7 Plus, 8 Plus and X, came the introduction of camera-specific features, making it the best iPhone camera yet.
Portrait mode
Portrait mode is great if you want to take an image with all the attention on one person. It works by creating a blur effect on the background, meaning the image is clearly focused on the main subject of the image. The Camera app will give you handy tips, telling you if the background is too dark or if the camera is too close to your subject. You can also remove the portrait effect post-photo if you decide you no longer want the blurred background.
With these tips, you can be sure you’re getting the most out of your iPhone camera. Don’t forget to share your iPhone images with us on social media using the hashtag #syncmcr.
If you’re interested in upgrading your iPhone, we stock a range of iPhones. Drop into the Sync Store at 63 Deansgate today!